Many years ago the earth-friendly cosmetic company, Lush, came out with a new product called Shower Jellies.
We’ve always been big Lush fans in our household and the shower jellies just concreted our love for them! They are wiggly, squishy and fun! Who doesn’t want that in their shower in the morning!
The trouble is, they are also pretty expensive!
My daughter could burn through an entire tub (that costs nearly $10!) in a week! Seriously, that stuff is so fun, that it’s addictive!
While online, I saw a recipe for DIY Shower Jellies… just like the ones from Lush! Yep, I was pretty excited, and so was my daughter!
The best bit? An entire big batch of shower jelly cost less than $1.50!
Table of Contents
DIY Shower Jellies
This craft is perfect for kids of all ages, but preteens and teens will especially love making this!
Younger kids love playing with slimy things, so why not let them play with something slimy that actually gets them clean at the same time??!!
Just one note of warning: to make these shower jellies you need to use boiling water to melt the gelatin. Probably not a good thing for little kids to be messing with!
One part that little kids will love… is adding glitter to the shower jelly! Just make sure they don’t add too much!
Actually, the glitter part is totally optional, because if you use glitter, when you use the shower jellies, they will leave a shimmer on you! Great for parties and holidays, but not so great for a day at school or work!
Jelly Color
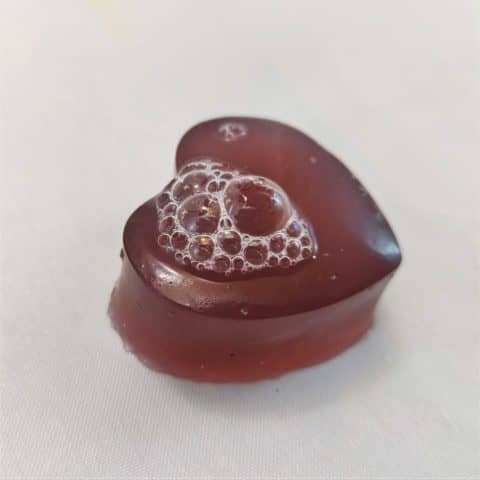
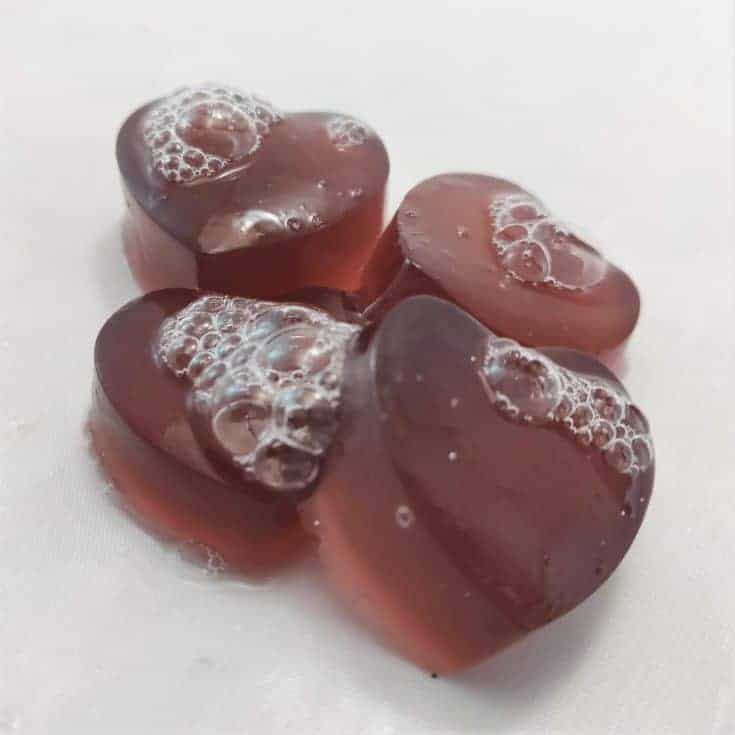
The color (and smell) of your shower jellies will depend on what sort of shower gel you pick as your base. I used a red shower gel and loved how they turned out.
You could pick a clear shower gel and use soap/skin-safe dyes to dye the jellies any color you want!
These shower jellies make great presents or party favors, so you can pick a color that suits your theme (I’m thinking red and gold ones for Christmas or orange and purple for Halloween!).
Whatever you do… don’t use food coloring to dye your shower jellies. That stuff will stain your skin! Won’t take long for you to look like a giant carrot!
Silicon Molds
The easiest thing to make this in is silicone molds. There are so many different types available, in a million different shapes and sizes (even Lego minifigs!)!

I prefer the smaller sized molds, as each jelly can then be used in one shower or bath. Otherwise, you’ll need to break or cut a piece off.
Oh and while I think of it. If your bathroom is on the warmer side (it’s summer or you live somewhere warm), then you will want to keep your shower jellies in the refrigerator. If they get too warm, they will melt and lose their shape.
Vegan Twist
This recipe does use regular gelatin. If you are vegetarian or vegan, then you can switch out the gelatin for a vegan-friendly version, such as Bakol,
I personally haven’t tried this, so I’m not sure how much you will need to use. So I recommend reading the packaging and see what amount of liquid they suggest. Then you’ll be on your way to making your own shower jelly without gelatin!
Shower Jellies Tutorial
DIY Shower Jellies
Good clean fun! These simple DIY Shower Jellies are fun to make and will make bath or shower time fun too!
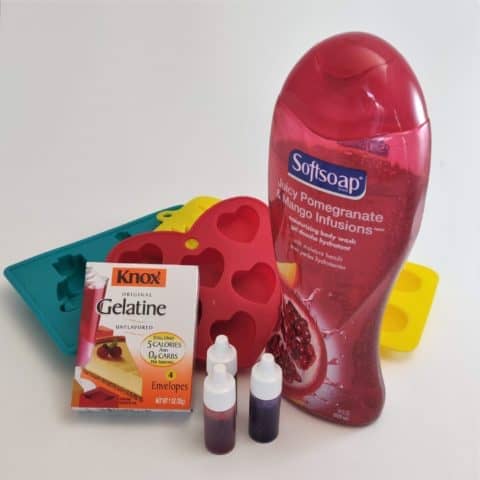
Materials
- Shower Gel (1/2 cup)
- Unflavored Gelatin (1 packet)
- Boiling Water (3/4 cup)
- Body-Safe Glitter (optional)
- Soap Dye (optional)
Tools
- Silicone Mold
Instructions
- Heat 3/4 cup of water in a saucepan until boiling
- Add one packet of unflavored gelatin
- Mix well until gelatin is completely dissolved (allow to cool slightly to avoid burning yourself)
- Add 1/2 cup of shower gel
- Mix well (but not too fast, as you don't want too many bubbles)
- Carefully pour into the silicone molds
- Optional - add a drop or 2 of soap/skin-safe dye or glitter... or both!
- Refrigerate for a minimum of 3 hours or until completely set (like jello!)
- Use like you would use soap in the shower or bath! Enjoy!